Skip to content

Register your first cluster

About this walkthrough

Estimated time: 3 minutes Tags: getting-started, clusters, setup

Add an Elasticsearch, OpenSearch, or Apache Solr cluster to RelyLoop, scope its index picker with the optional Target filter, and verify the connection probe succeeds.

Trouble playing? Download the walkthrough video.

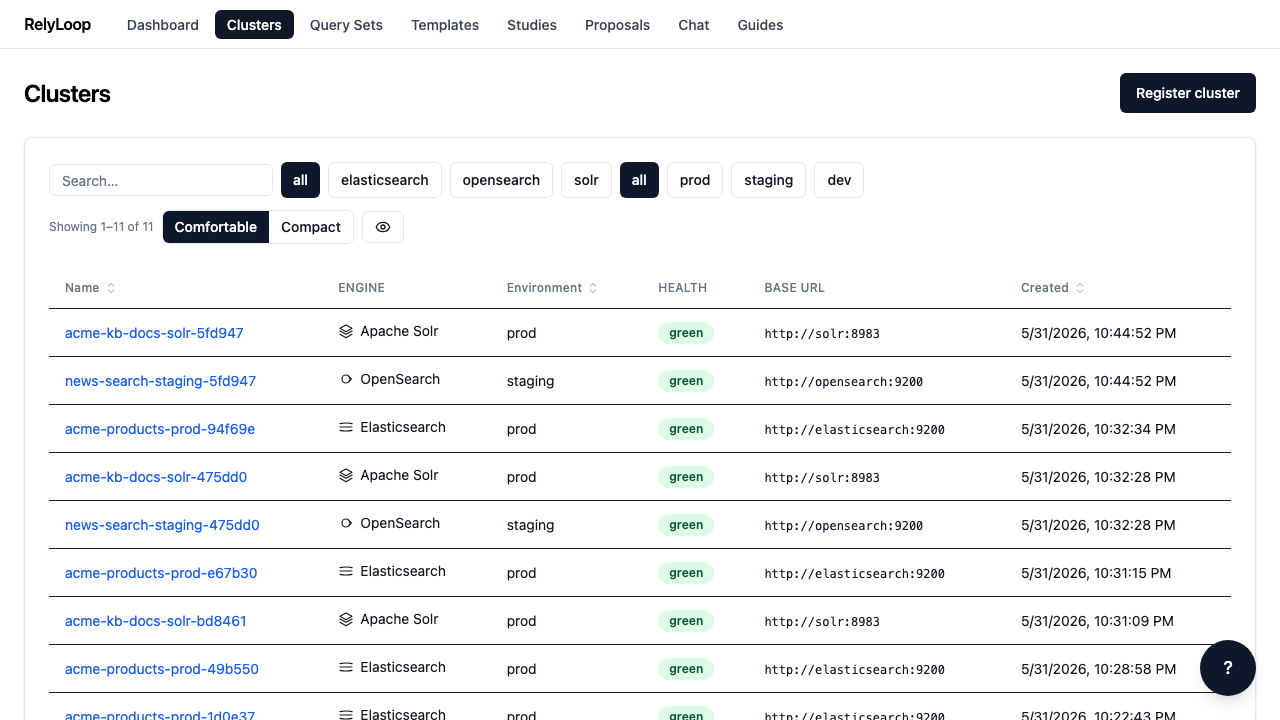
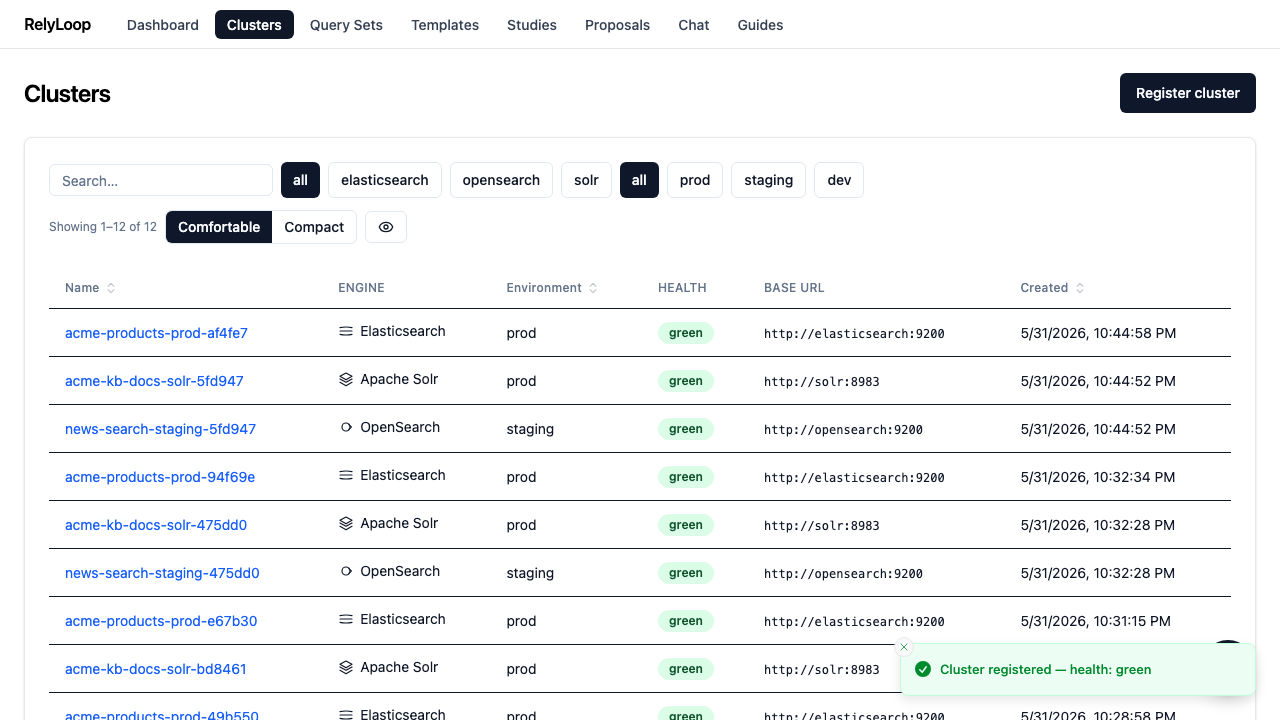
Step 1 — Open the Clusters page. The list shows every…

Open the Clusters page. The list shows every registered cluster across all three supported engines — Elasticsearch, OpenSearch, and Apache Solr — each with its own engine badge, health probe result, and base URL. The filter chips (all / elasticsearch / opensearch / solr) scope the list by engine. Click 'Register cluster' in the top right to add your own.

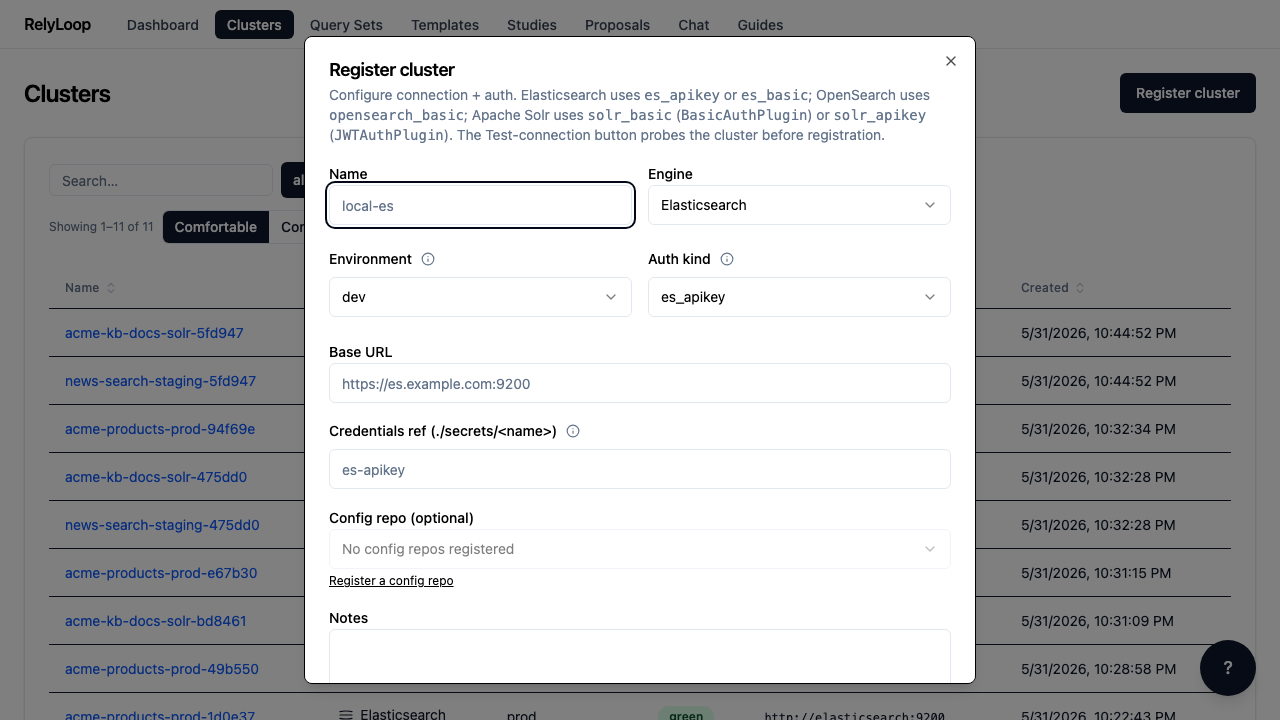
Step 2 — The registration modal opens with sensible defaults: Engine…

The registration modal opens with sensible defaults: Engine = elasticsearch, Environment = dev, Auth kind = es_apikey. Fill the Name, Base URL, and Credentials ref fields — and scroll down within the modal to reveal the Notes and Target filter inputs further below.

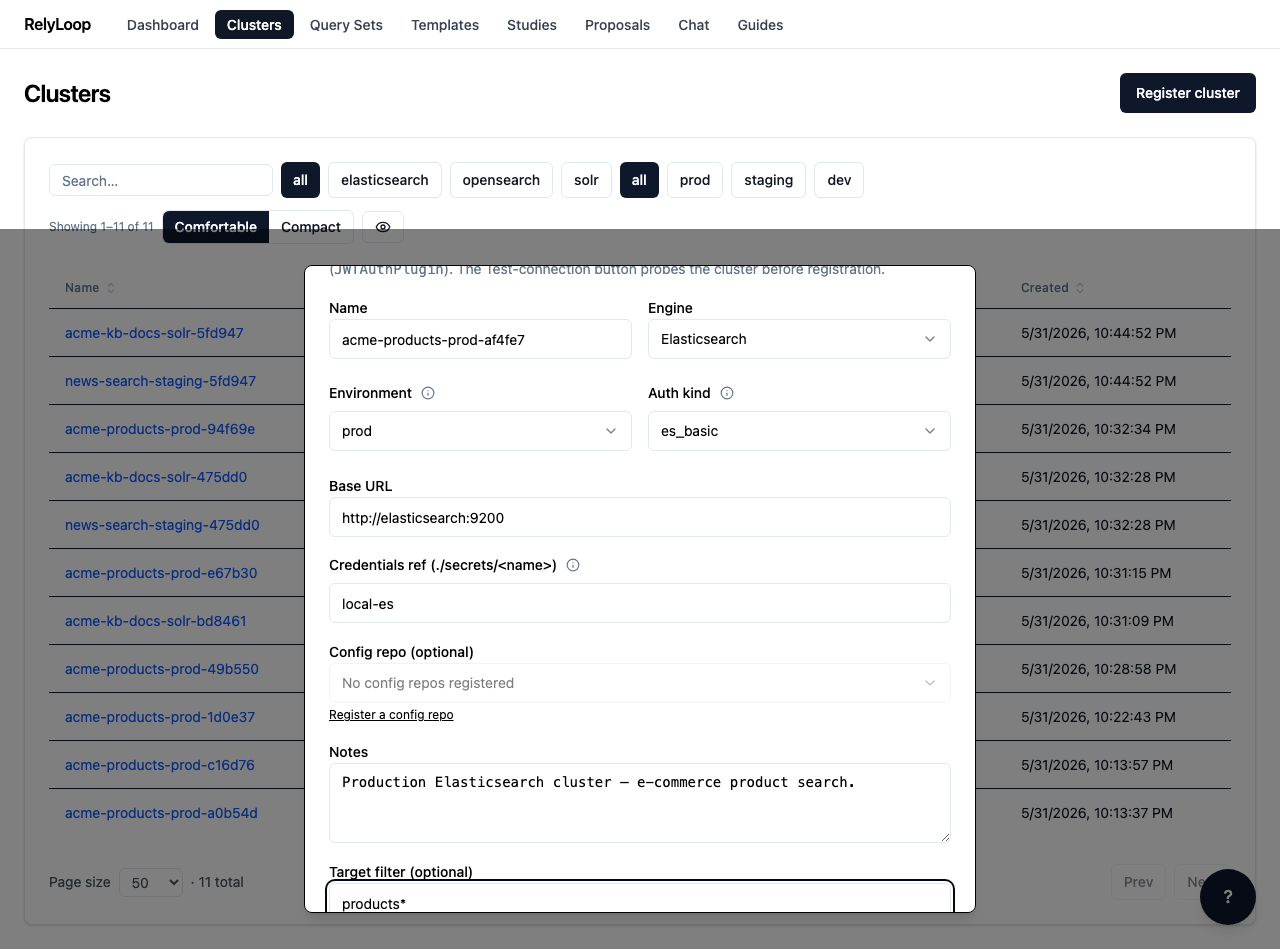
Step 3 — Fill in realistic values for a production e-commerce…

Fill in realistic values for a production e-commerce cluster: Name = acme-products-prod-*, Base URL = http://elasticsearch:9200, Credentials ref = local-es, Environment = prod, Auth kind = es_basic. Set the optional Target filter to a glob like products* so this cluster's index picker (used later by the create-study modal) only shows matching indices instead of every index on the box. Brace expansion (docs-{en,fr}*) isn't supported — use a wider glob like docs-* or register multiple clusters. Scroll to the Register button and click it.

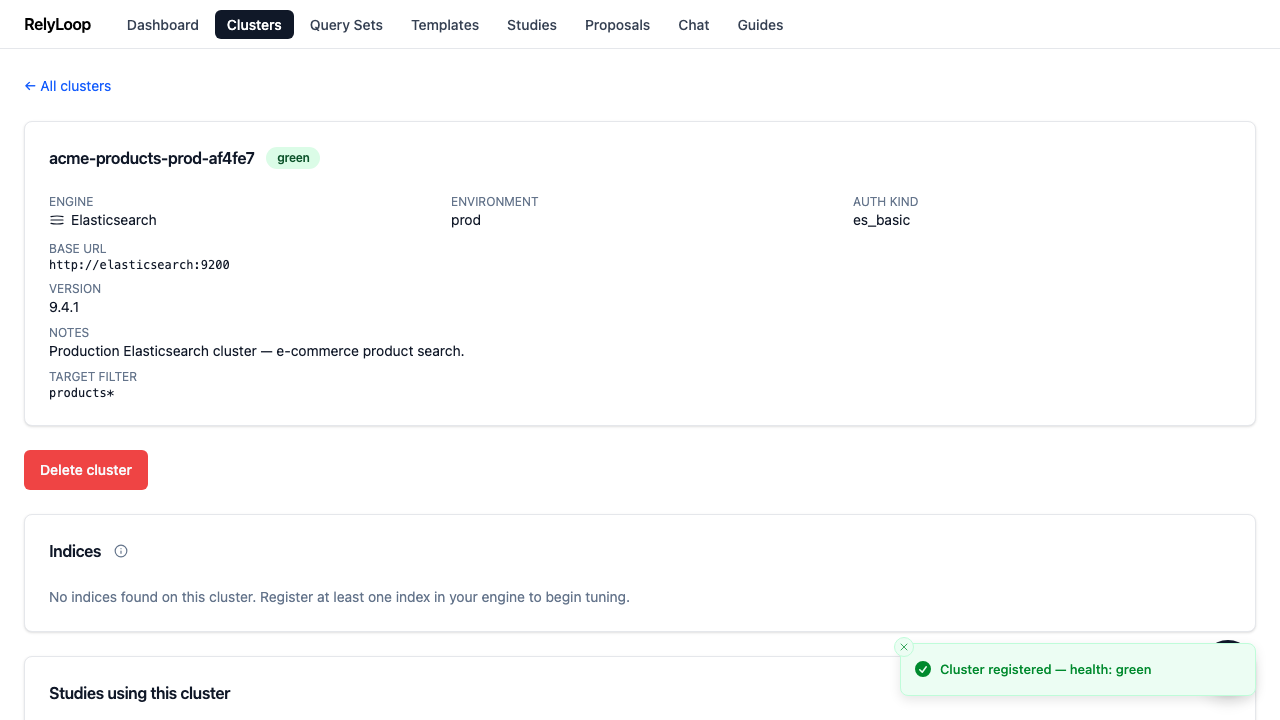
Step 4 — RelyLoop fires a connection probe through the engine…

RelyLoop fires a connection probe through the engine adapter. If the cluster is reachable, it's added to the list with a health badge (green when healthy, yellow when only partially reachable, red on CLUSTER_UNREACHABLE). The toast in the bottom right confirms the registration and the probe result.

Step 5 — Click the new cluster row to open its…

Click the new cluster row to open its detail page. You see the live health probe result, version, base URL, auth kind, notes, and the Target filter you set (here products* scopes this cluster's index picker). The 'Studies using this cluster' section underneath is empty for a fresh cluster — it fills in once you start running studies against it. Guide 06 walks you through creating one.

← Back to walkthroughs